
Have you ever wanted to learn how to curve a bowling ball? It’s actually not as hard as it might seem!
With a bit of practice, you could be curving the ball like a pro before you know it.
I’ll show you how to master this skill with a simple five-step guide.
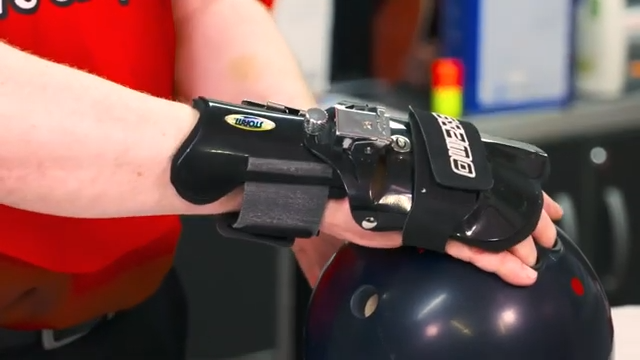
Step 1: Choose the Best Ball for You
The first step in learning to curve a bowling ball is to pick the right ball.
Not all bowling balls are the same, and some are better for beginners.
You should select a ball that’s neither too heavy nor too light for you.
A good rule of thumb is to choose a ball that weighs about 10% of your body weight.
This makes it easier to handle and control as you learn to curve.
Step 2: Focus on the Arrows!
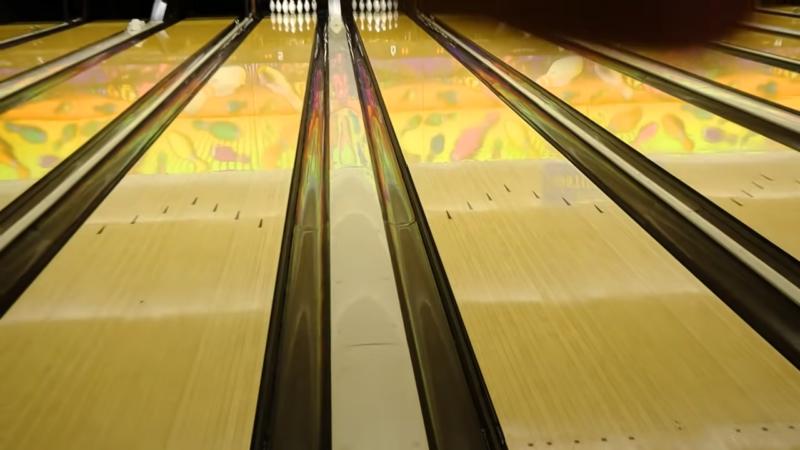
When it’s time to bowl, concentrate on the arrows on the lane instead of the pins at the end.
Aiming for the arrows is easier because they’re much closer to you.
Plus, the arrows are there to assist you.
If you find your shots are veering too far left or right, the arrows can guide you on where to stand and how to adjust your aim so your ball hits the target area you intend.
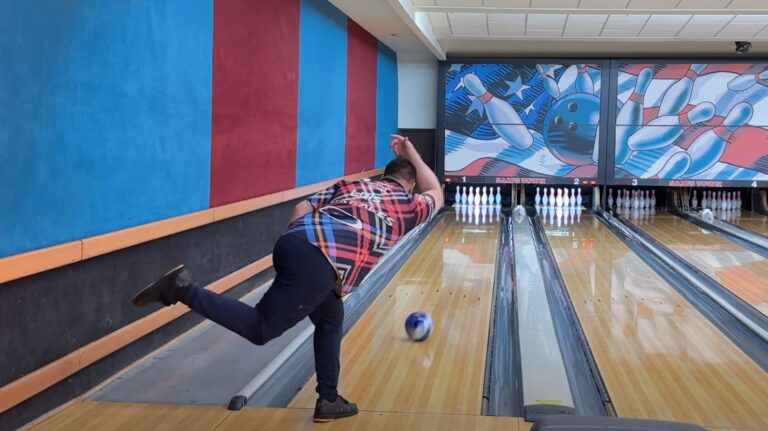
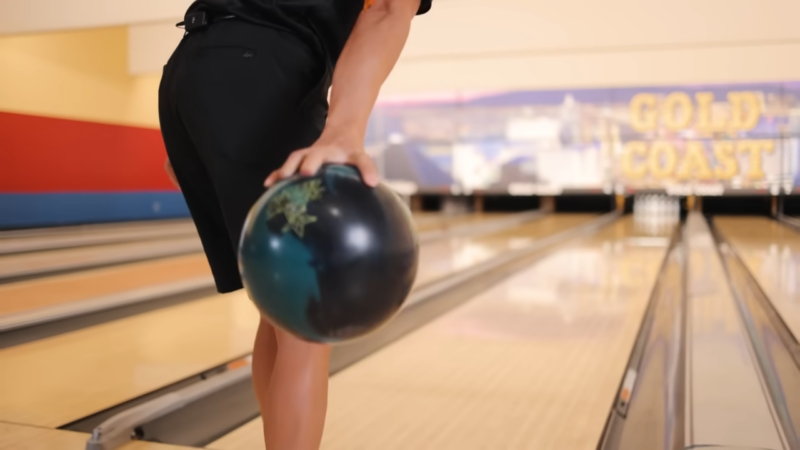
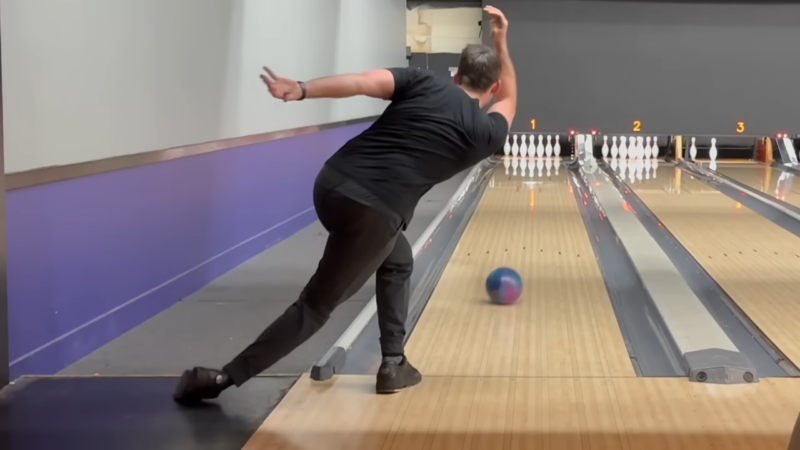
Step 3: Proper Technique Of Releasing

- Start with a Hook Grip: Position your middle finger and ring finger in the holes of the ball while resting your thumb and index finger on top. This grip provides more control and helps with accuracy when throwing the ball.
- Keep Your Wrist Straight: Maintain a straight wrist as you swing the ball back to ensure you throw with both power and precision.
- Release Your Thumb First: As you swing forward, release your thumb before the fingers. This helps to increase the spin on the ball, making it easier to curve.
- Use Your Wrist to Throw the Ball: Employ your wrist to add power and control during the release. As your arm moves forward, let the ball roll off your fingers.
- Focus on the Ball’s Momentum: The key to curving the ball lies in its momentum. As it travels down the lane, ensure it has sufficient speed and rotation to curve around the pins effectively.
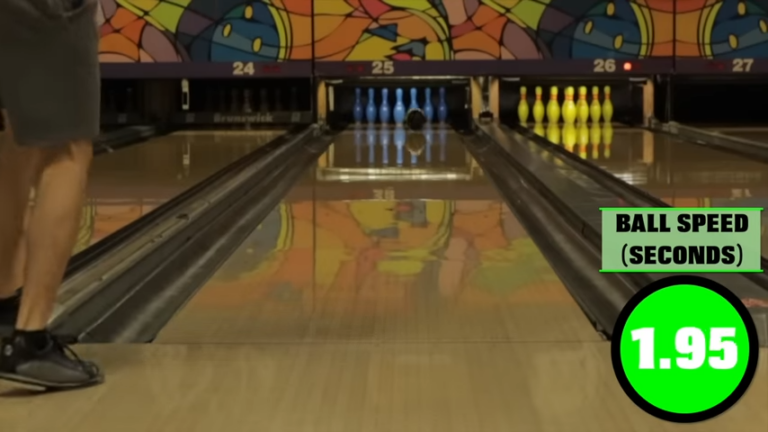
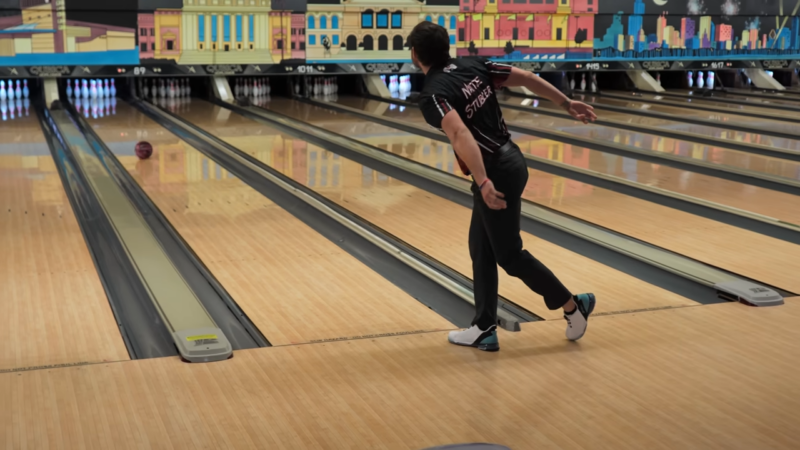
Step 4: Speed Is Crucial!
Your release speed, timing, and position are critical factors in determining the curve of the bowling ball.
For instance, to curve the ball leftward, you’ll need to release it slightly to the right of center. Conversely, to curve it rightward, release it slightly to the left of center.
The farther you release the ball from the center, the more pronounced the curve will be.
In terms of release speed, releasing the ball too early results in a gentler curve, while releasing it too late leads to a sharper curve.
To increase your bowling ball speed, focus on maintaining a smooth and controlled approach, utilizing proper footwork and a balanced delivery.
Additionally, you can adjust the amount of curve based on your bowling speed. Slower bowling requires more curve, while faster bowling demands less.
Step 5: You won’t Get It Without Practice
To get the hang of curving a bowling ball, you’ve got to put in the practice. It’s all about repetition.
The more you do it, the better you’ll get.
It might take some time and effort, but with consistent practice, you’ll definitely see improvement.